We finally put together our gingerbread tree. I had made the dough a few days before and just set it in the fridge until a good time for all of us to work together.
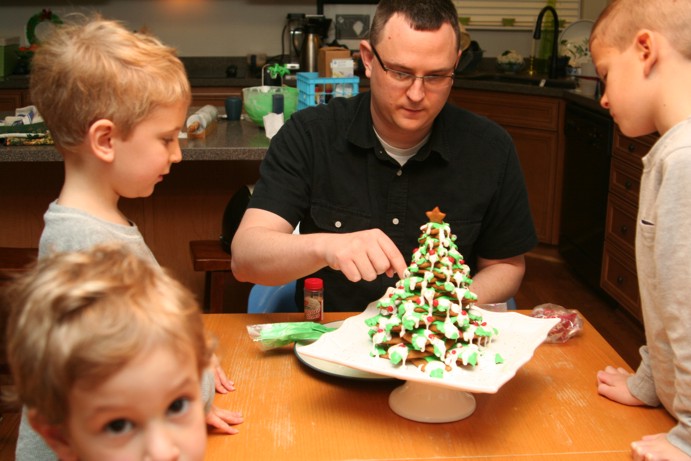
Kris even got into it which was very helpful because there was always one of us to take pictures.
This started last Christmas when Ivan saw one of these in the grocery store. He wanted one so bad and I knew then that we just didn’t have time to squeeze it in last year. So I promised we would make one this year and wouldn’t you know it, that little guy didn’t forget. He asked for one as soon as he got a whiff of Christmas.
I knew I could buy a pre-baked kit if I looked real hard, but I also knew that making my own gingerbread smells pretty much awesome. I knew what I needed to do just by having seen the picture, but if you go to the link above they also have a video that will affirm what you already know. I did learn that I need two of each size cookie and I would want to have a stiff icing and that Royal Icing is apparently the way to go.
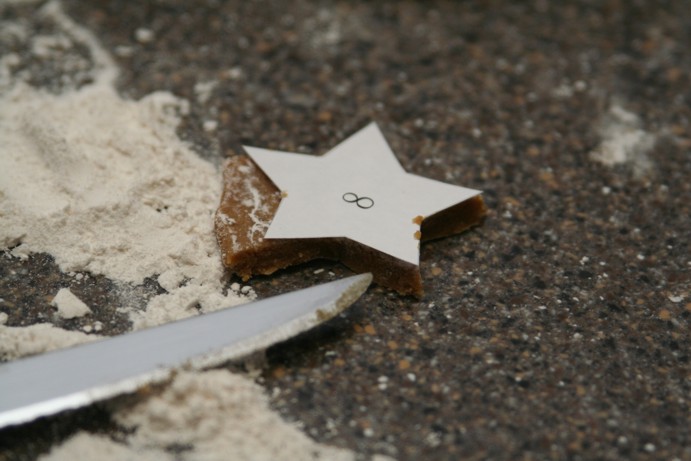
First I made a pattern. If you buy a kit like this one, you can get 10 cookie cutters in the correct sizes. I hope I can get this for next year because cutting these out with a knife was a bit time consuming. However, if you are in a hurry and you can’t find the cookie cutters I will be happy to e-mail you a PDF of my 10 star patterns that you can cut out for yourself. Hint…I did this part while the boys were napping. They are a little young for knives.
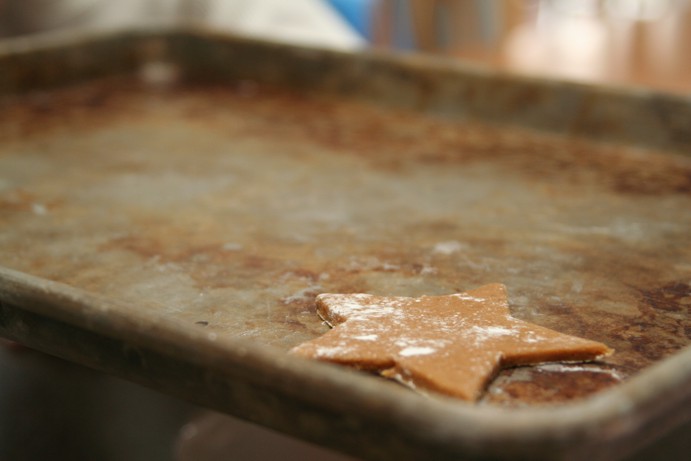
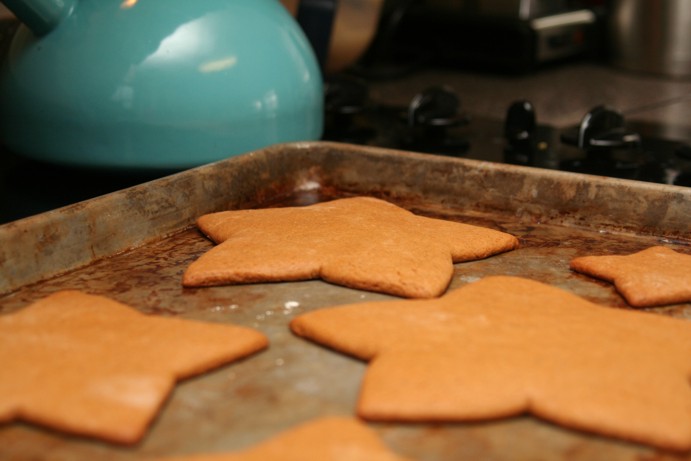
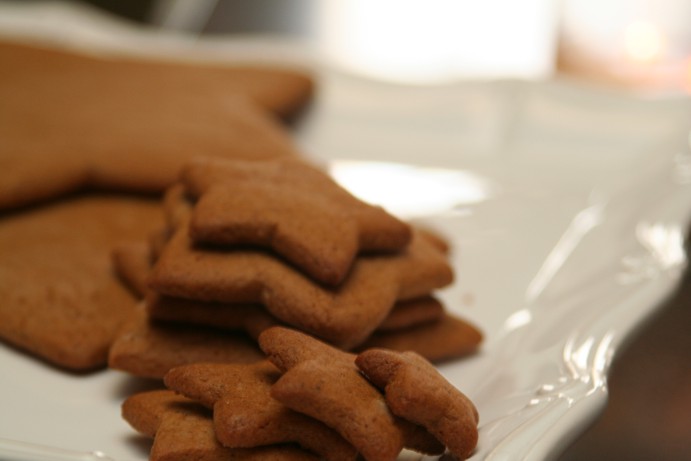
Then of course I baked them. The size I used took up the space of three cookie sheets, which is basically 30 minutes of baking time…in case you’re calculating.
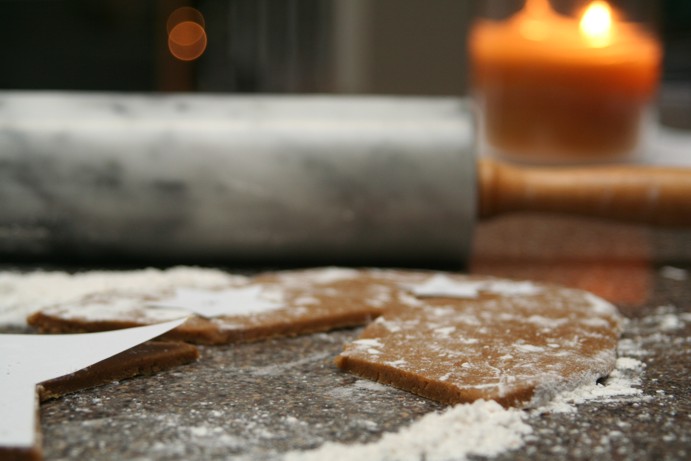
This is just a picture I took of the flour on my counter and I like it a lot. Hope you’re not in a hurry.
Then…when all the dishes were done and the toys were put away and last of the dinner was eaten…I made some icing, colored it*, and we put it all together.
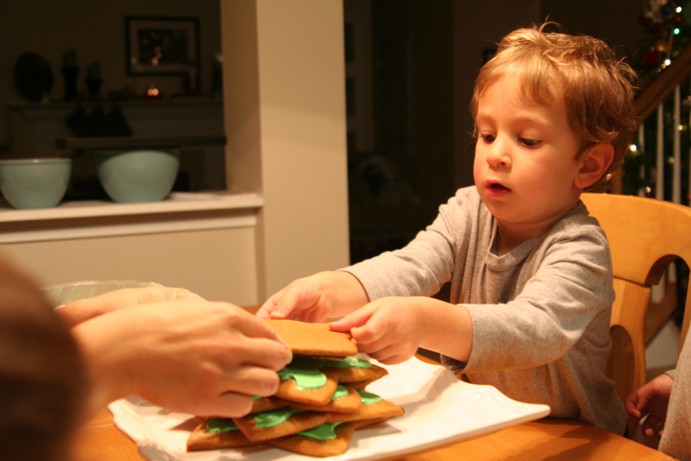
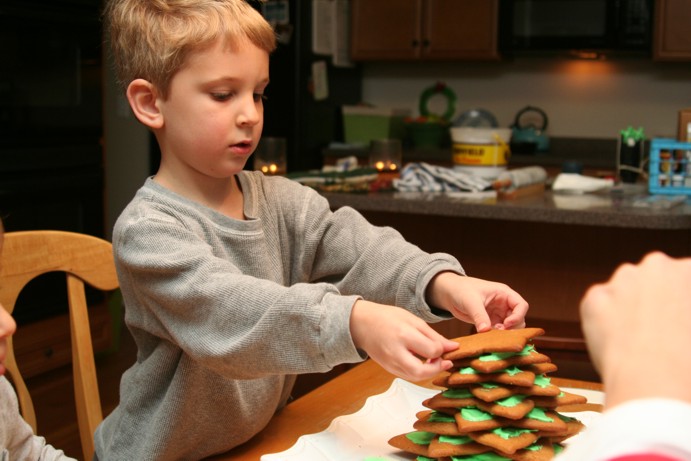
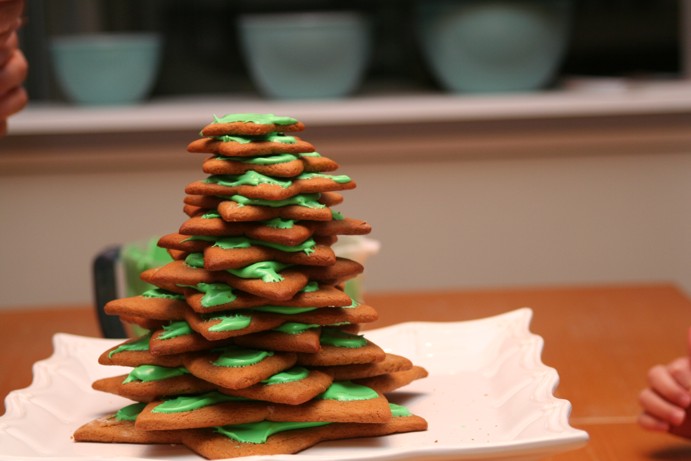
It’s basically just stacking cookies on top of each other, largest to smallest, with icing between them to hold it all together. Not rocket science.
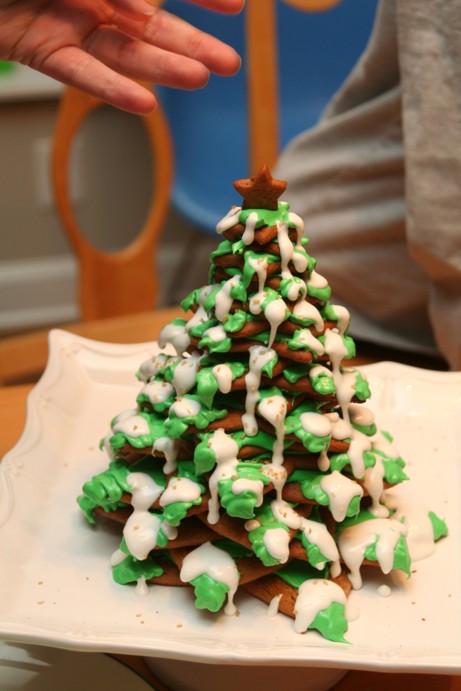
Ours got a little crooked. Owen was a little concerned about this, but I explained that it looks more like a real tree that way. Very seldom does God create a perfectly symmetrical tree. He seemed content with that.
Once the smallest star was propped on top we started decorating. First we put the rest of the green icing into a decorating bag and used a flat tip to make the green of the branches. I just squirted it wherever it looked like it needed it.
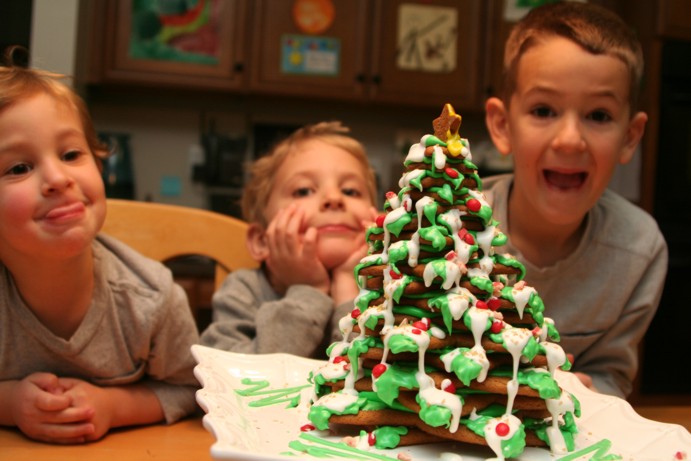
I used some white icing I had *reserved earlier and made snow for the tips of the branches. We didn’t get any pictures of this on it’s own but I’m sure you get the idea. Then we started decorating. First we sprinkled some Gold Sugar on it. It’s like large golden sugar crystals. A little larger than raw sugar, but you could use raw sugar or you could color some white sugar for even more fun! We just used what we had on hand from other projects. Mostly from decorating birthday cakes. After the sugar we tossed on some red hots and then some peppermint baking pieces. I don’t necessarily recommend the two together for flavor, but for color they are pretty cute side by side. I also had one of those tiny icing decorating tubes from coloring cookies at another event so I added a little yellow to the star, but it didn’t go on very well. I’m sure there are other options that would have looked better. Anyway…here are the pictures of the final steps for us.
That’s all.
Oh…if you are interested in making the gingerbread and icing yourself, here’s the recipes I used: Gingerbread Recipe and Royal Icing Recipe (I did add more 10X sugar in this one because it seemed a little runny to me. Some of the reviews seem to agree with me.)
Of course while doing projects like this I get more ideas. I have a wonderful sugar cookie recipe that my best friend’s mom used to make for our class in school every year. I could use that for the stars as well and use green food coloring to make the entire tree green. I could also make half the stars green sugar cookies and half gingerbread. I could make the star a yellow sugar cookie. We could decorate with other candies of course and we could make things other than trees…I think. Anyway…I hope this was a little bit helpful at least. A few of you seemed interested in making your own when you saw the picture on facebook. Just comment if you want the PDF pattern for the stars.







This was great! If I wasn’t already doing a million other baking projects, I would take this on. I am going to log it away for next year. I bet Gabriel would get a real kick out of it! Also, I’ve been looking for a good hard icing. This one seems like it will fit the bill for what I’m doing. (Gingerbread men! Except…with sugar cookies. So…sugar cookie men? 🙂 )
this is just beautiful! I love the pic with Kris working on it, and of course the boys smiling and feeling creative, I’m sure! You are such a great mom!
I would so love to do this. I feel like there’s too much to do but maybe one big project is better than making dozens of cookies that we don’t really need to eat anyway. Please send me the PDF 🙂
Oh – it’s gorgeous! And I even love the flour on your counter 🙂
Michelle – It is a bit time consuming. I’ve been thinking about how much simpler it would have been had I done the baking ahead of time. The real event is in the stacking and icing of course.
Mom – I was glad Kris wanted to do it with them. Sometimes I just assume he wouldn’t enjoy it and do things without him, but it’s so much more special when he’s involved.
Amy – post pictures when you do it. I can imagine your girls will make a very pretty tree.
Christy – Thanks, I’m glad you appreciate it. 🙂